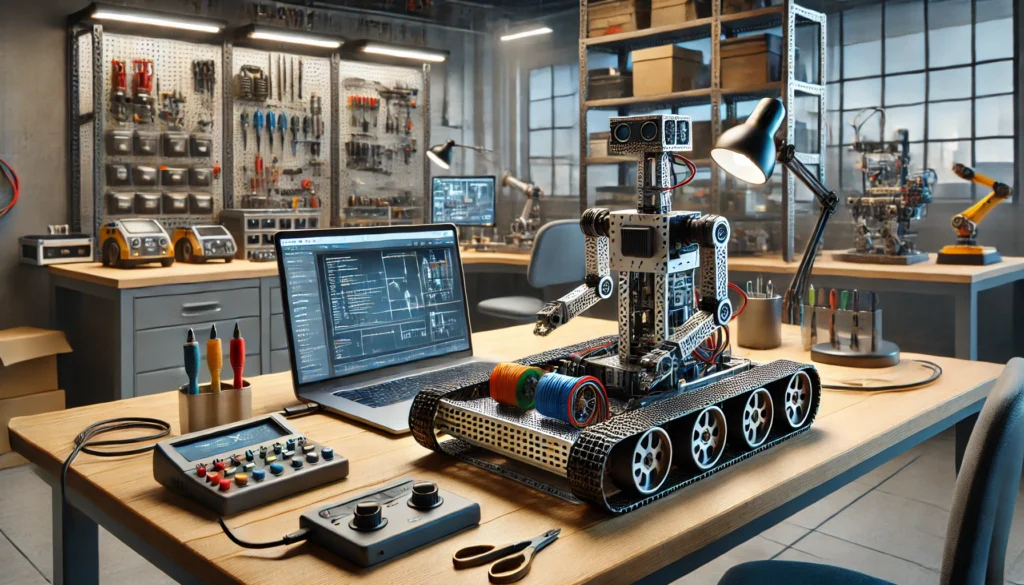
Setting up SmartDrive on a VEX Robotics system can significantly enhance your robot’s performance by leveraging precision control and adaptability. Whether you’re preparing for a competition or working on a classroom project, this guide will help you set up your SmartDrive system efficiently and effectively.
What is SmartDrive?
SmartDrive is a feature of the VEX Robotics system that combines advanced programming and hardware capabilities to enable precise control of your robot’s drivetrain. It typically involves using VEX V5 Smart Motors, sensors, and software to create an intelligent driving mechanism.
Tools and Materials Needed
- VEX V5 Brain
- VEX V5 Smart Motors (at least two for basic setup)
- Motor cables
- Controller (VEX V5 Controller)
- VEXcode V5 software (available for download from the VEX Robotics website)
- Gyro sensor (optional for enhanced control)
- Drivetrain hardware (e.g., wheels, frame, motor mounts)
Step-by-Step Guide
Step 1: Install VEXcode V5 Software
Start by downloading and installing the VEXcode V5 software on your computer. This is the programming environment where you will configure and control your SmartDrive system.
- Visit the VEX Robotics website and navigate to the VEXcode section.
- Download the version compatible with your operating system (Windows, Mac, or Chromebook).
- Follow the installation instructions and launch the software.
Step 2: Assemble the Hardware
Ensure your robot’s drivetrain is fully assembled and ready to use.
- Attach the VEX V5 Smart Motors to the robot’s frame.
- Connect the motors to the appropriate ports on the VEX V5 Brain using motor cables.
- If using a gyro sensor, mount it securely on your robot and connect it to the Brain.
- Attach wheels and ensure they are properly aligned.
Step 3: Configure the SmartDrive in VEXcode V5
Once the hardware is set up, configure the SmartDrive system in the VEXcode V5 software.
- Launch VEXcode V5: Open the software and create a new project.
- Define the Drivetrain: Use the drag-and-drop interface (in Blocks mode) or write the following code (in C++):
#include "vex.h"

using namespace vex;

motor leftMotor = motor(PORT1);
motor rightMotor = motor(PORT2);
motor leftMotor2 = motor(PORT3);
motor rightMotor2 = motor(PORT4);
gyro GyroSensor = gyro(Brain.ThreeWirePort.A);

smartdrive myDrive = smartdrive(leftMotor, rightMotor, leftMotor2, rightMotor2,
                                GyroSensor, 12.0_in, 12.0_in, 6.0_in);

int main() {
  myDrive.driveFor(directionType::fwd, 24, distanceUnits::in);
}
- Calibrate Sensors: If you are using a gyro sensor, calibrate it by adding
GyroSensor.startCalibration()to your code and allowing it to complete calibration before proceeding. - Upload the Code: Connect the VEX Brain to your computer using a USB cable and upload the program.
Step 4: Test the Drivetrain
Before deploying your robot for tasks or competition, test the drivetrain to ensure proper functionality.
- Turn on the VEX Brain and Controller.
- Run the uploaded program.
- Observe the robot’s movement and ensure it drives forward, backward, and turns as expected.
- Adjust motor ports or drivetrain parameters in the code if the robot does not behave as intended.
Step 5: Fine-Tune Performance
To optimize your SmartDrive system:
- Adjust Speeds: Modify motor speed parameters in your code to suit your robot’s needs.
- Add Precision: Use sensors like the gyro for enhanced control and stability during turns.
- Incorporate Feedback: Implement encoder feedback to achieve consistent movement distances.
Troubleshooting Tips
- Motors Not Responding: Ensure motors are securely connected and the correct ports are specified in the code.
- Inaccurate Movement: Verify drivetrain measurements (e.g., wheel size) in the SmartDrive configuration.
- Sensor Issues: Double-check sensor connections and recalibrate if necessary.
FAQs
- What is SmartDrive in VEX Robotics? SmartDrive is an advanced drivetrain system that uses VEX V5 Smart Motors and sensors to enable precise robot control.
- What tools and materials are needed to set up SmartDrive? You need VEX V5 Brain, Smart Motors, motor cables, a controller, VEXcode V5 software, and optional sensors like a gyro.
- How do I configure SmartDrive in VEXcode V5? Use the SmartDrive configuration options in VEXcode to define motors, sensors, and drivetrain dimensions for your robot.
- Why is calibration important for SmartDrive? Calibration ensures sensors like the gyro provide accurate feedback for precise movement and turns.
- What should I do if my SmartDrive setup isn’t working? Check motor connections, verify code for port mismatches, and recalibrate any sensors to resolve issues.
Conclusion
Setting up SmartDrive on a VEX Robotics system involves assembling hardware, configuring software, and fine-tuning performance for optimal results. With this guide, you’ll be able to create a robot that moves with precision and intelligence, ready to tackle any challenge. Happy building!

